Innovating Data Collection - Serving Businesses Worldwide

Published On:
May 4, 2026
How you can link CliqForms forms to third-party tools like CRM and email automation via our Zapier app.
Watch the video tutorial or read the article below to see how the CliqForms Zapier integration works.
If you haven’t connected CliqForms to Zapier, please have a look at this article first.
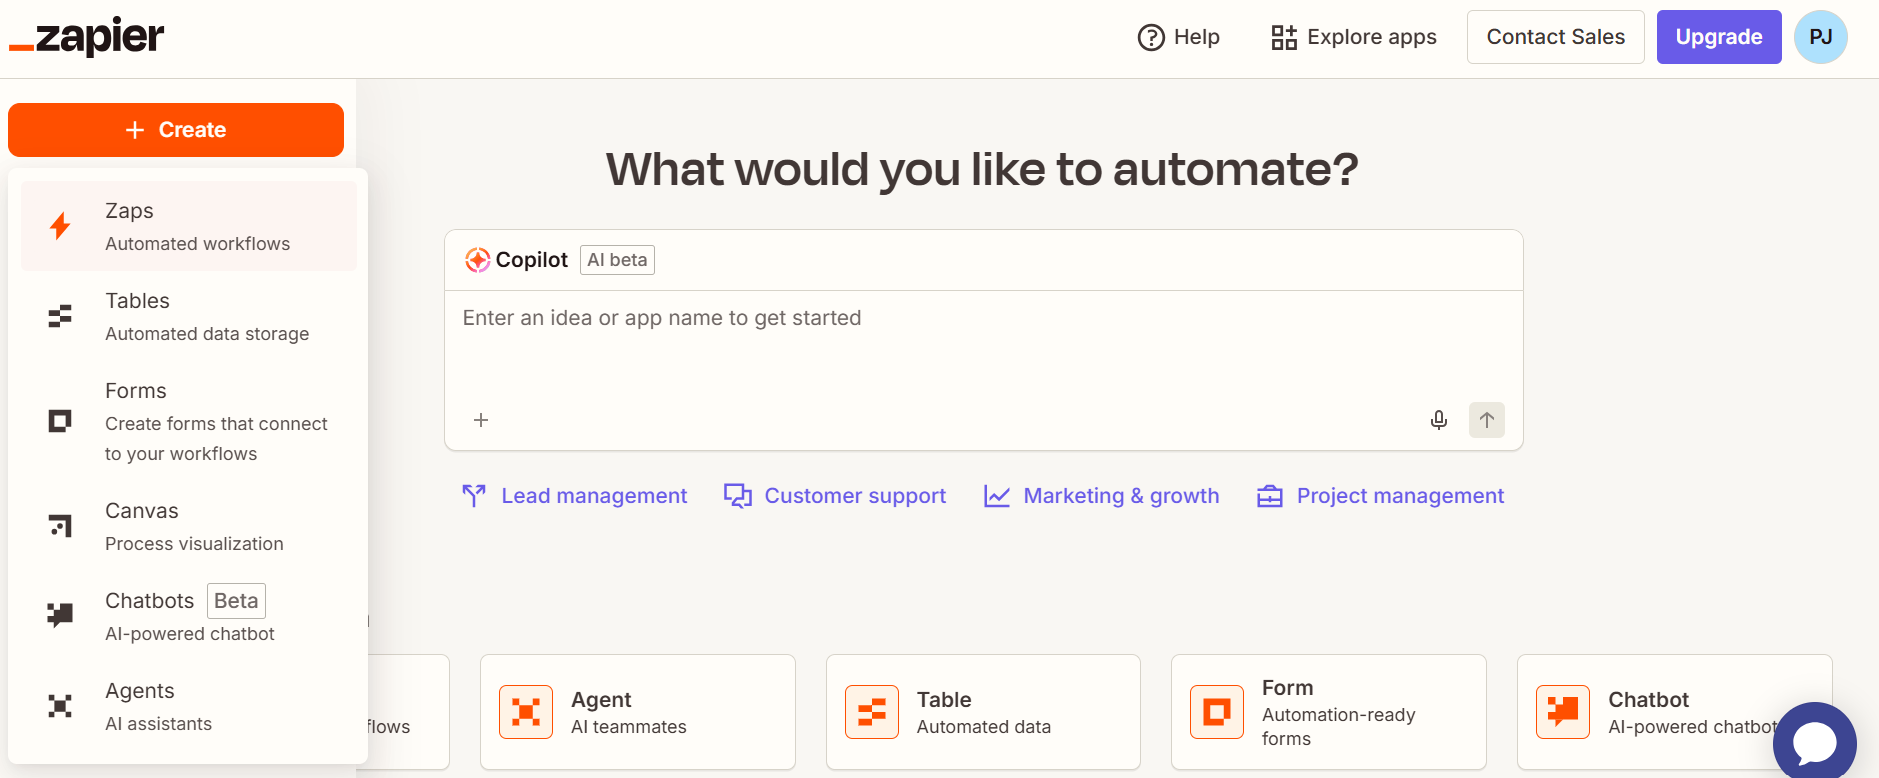
Open Zapier and create a new Zap. Select “CliqForms” as the source app and the app you want to link it with, Hubspot in our case. For every new form submission, we want to create a new contact in Hubspot.
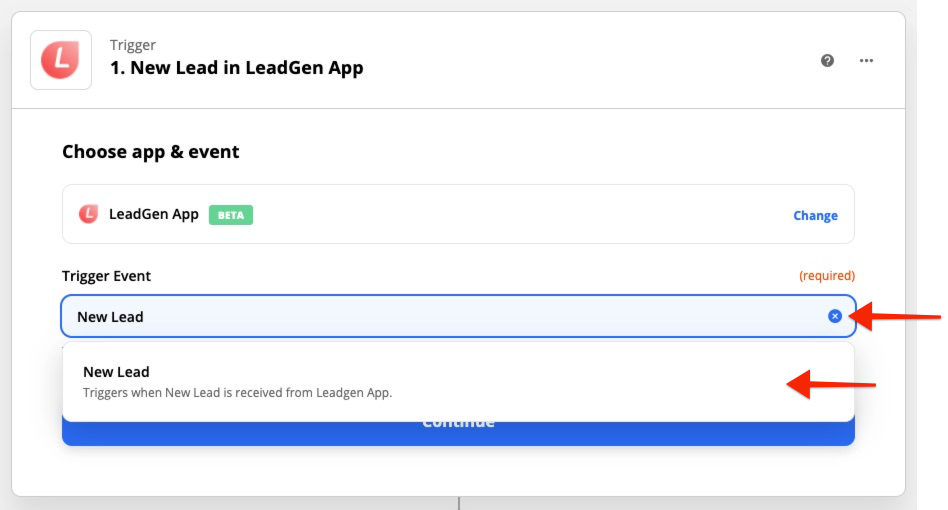
In the “Trigger event” dropdown menu, choose “New Lead.” This means each time your form receives a lead, Zapier will automatically find the lead and pass it forward to the action tool.
Once you have chosen Cliqforms and the trigger event, authenticate your Cliqforms account with Zapier by logging in with your Cliqforms account credentials.

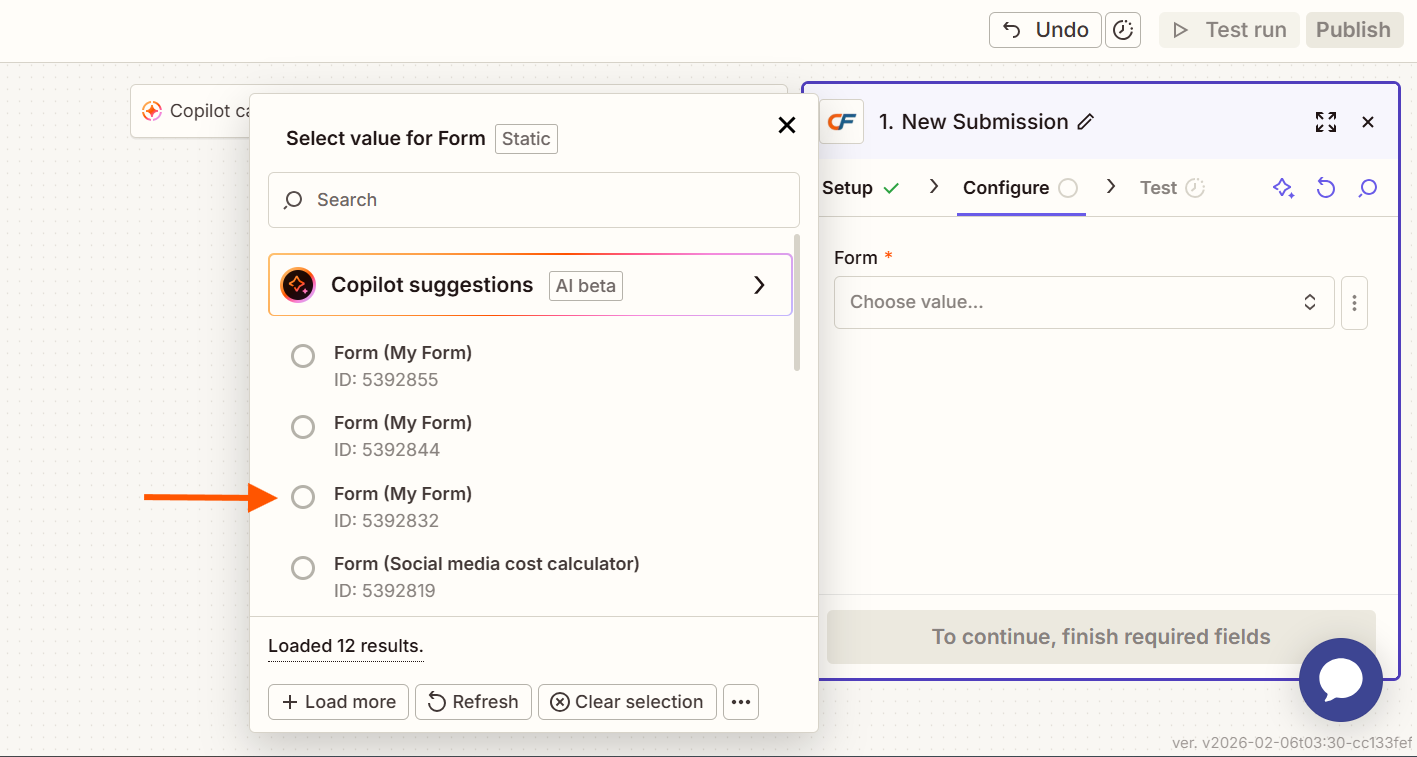
In the “set up trigger” dropdown, you will see the forms available in the account you just selected. Choose the one you want to use.
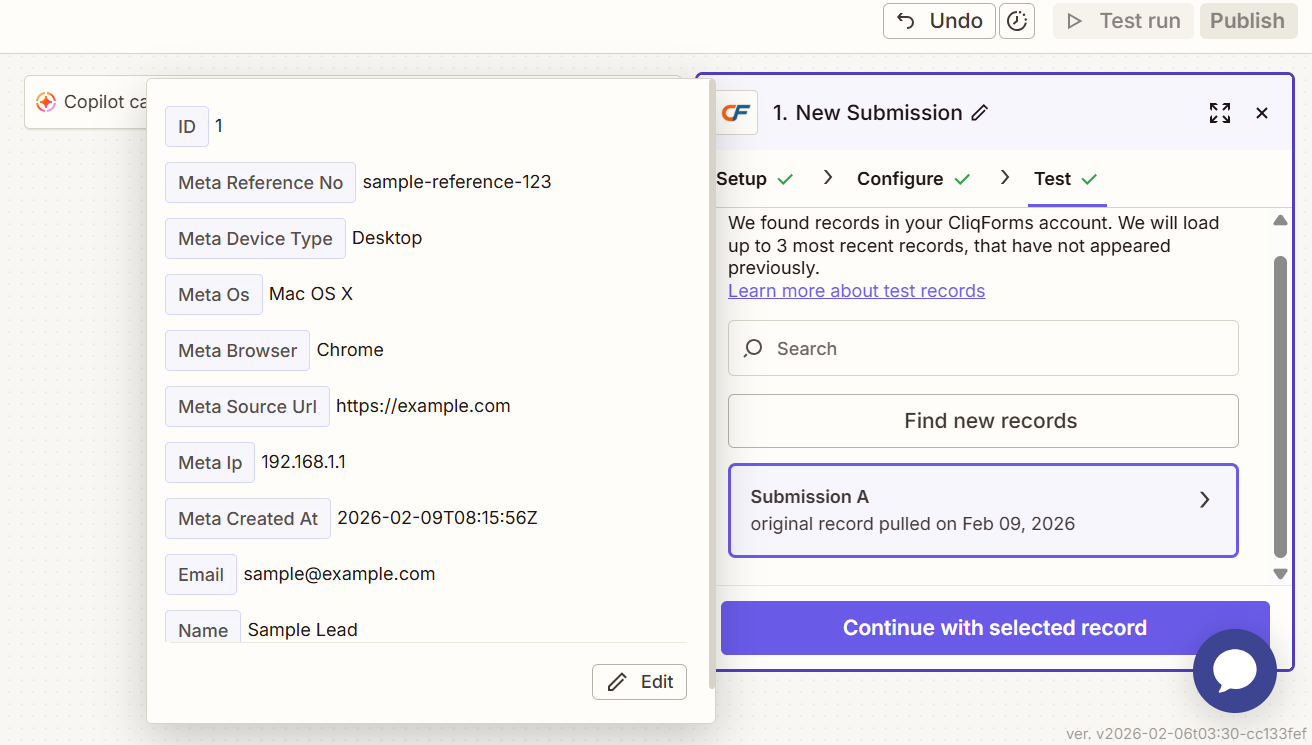
If you see the message saying they couldn’t find a lead, you need to create one. Go back to Cliqforms, open the form, and create a new submission. Open Zapier again and click “Test trigger.”
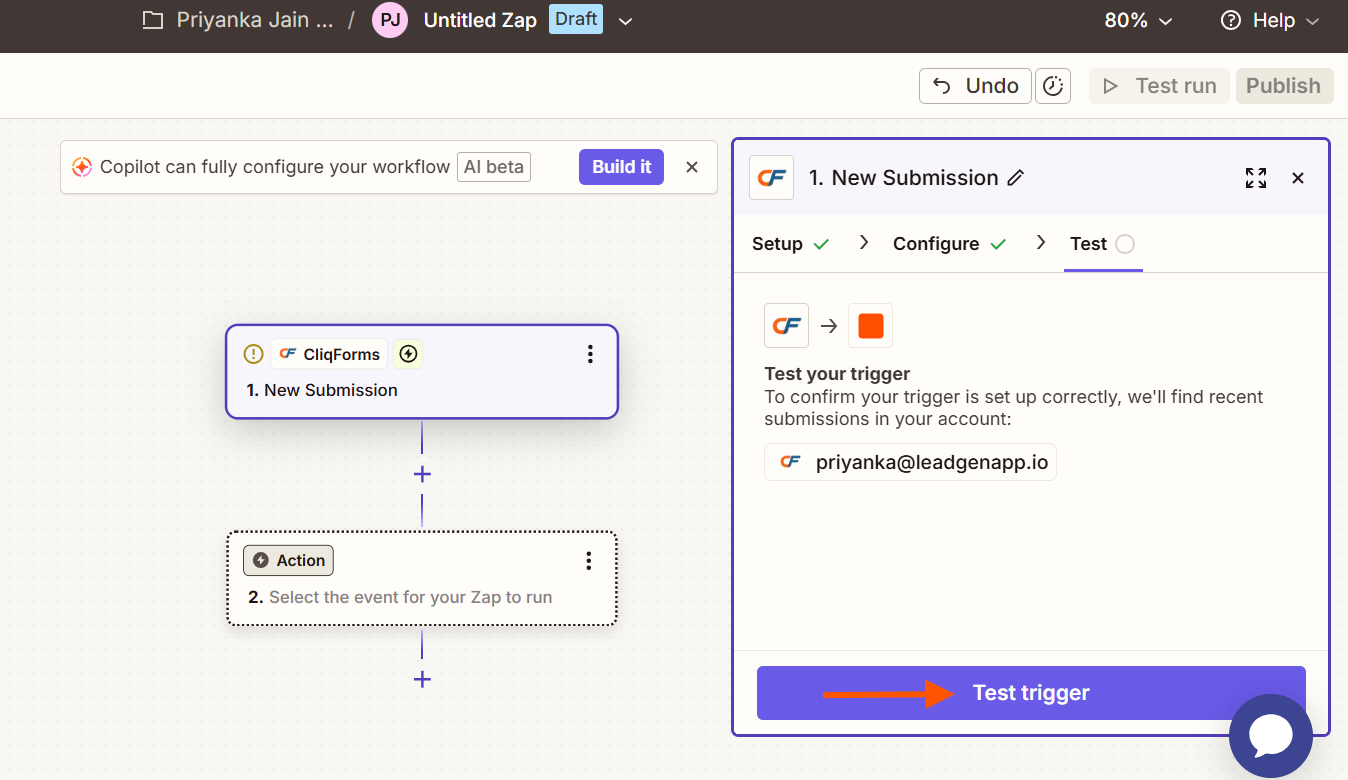
You should see the details of the new submission. Click “Continue” to move to the next step.
Select “Create Contact” from the “Action Event” list and click “Continue.”
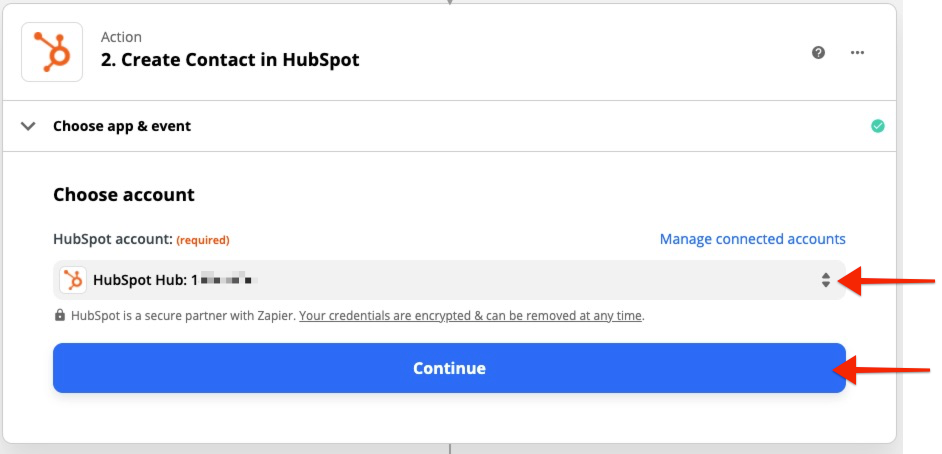
Choose the HubSpot account where you want to see this lead.
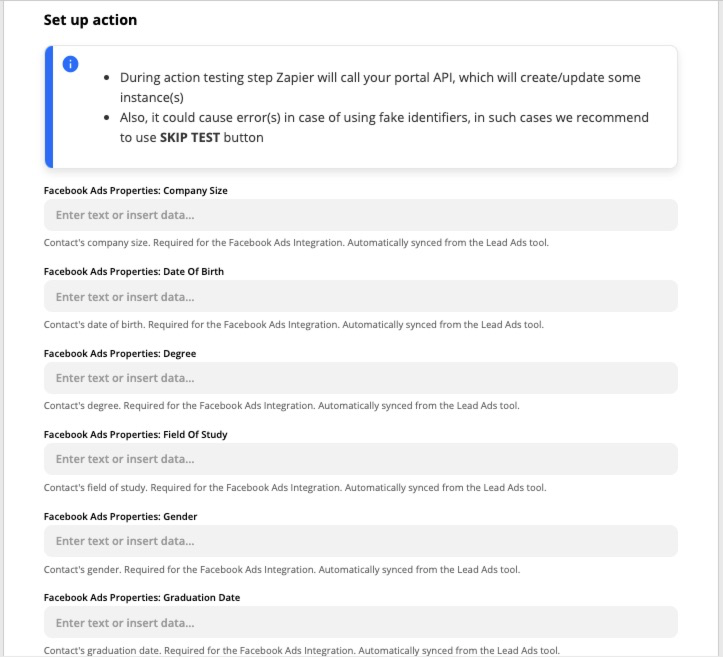
In this step, you will see multiple fields that can be used when sending a contact to HubSpot. If you have information available from Cliqforms, you can add it here, but if not, then skip this step.
Click “Test & Review” to send the information to HubSpot and see the confirmation.
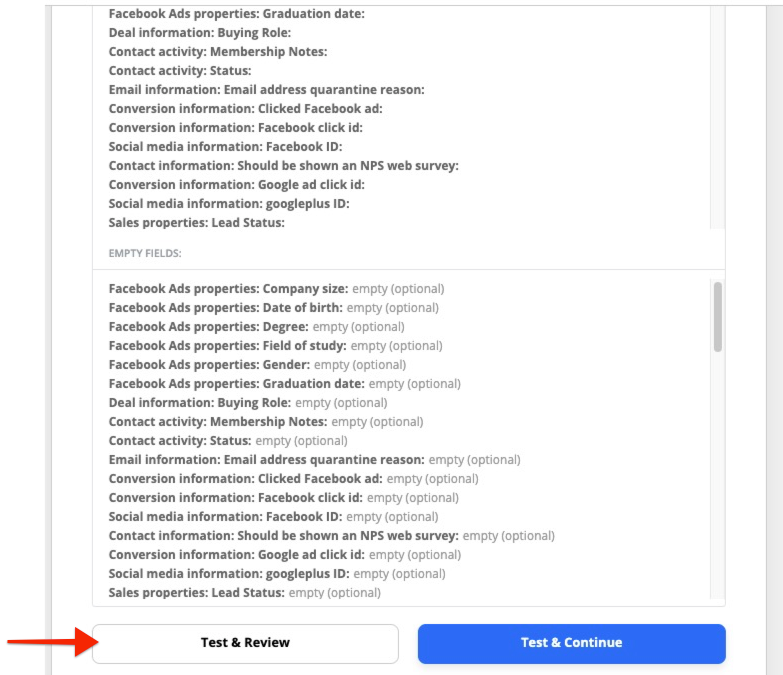
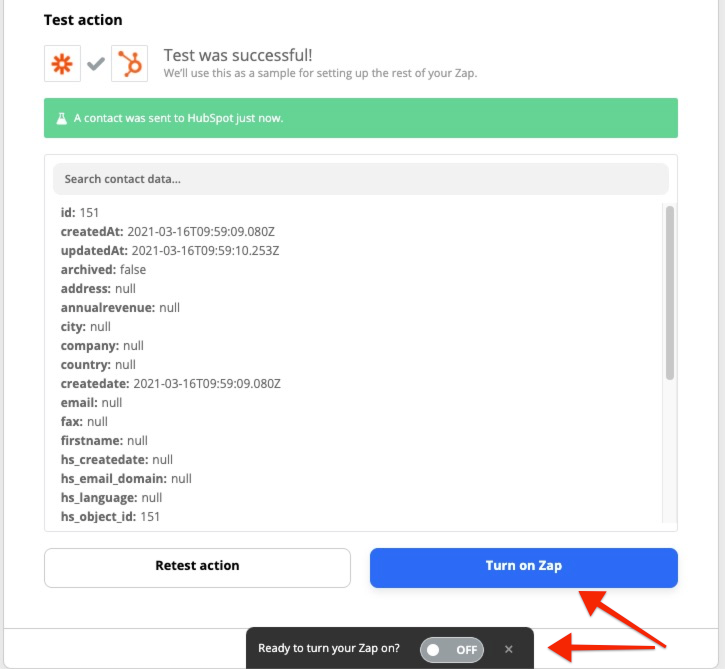
You will see a success message that says the contact was sent to HubSpot. If you open the platform, you should see it there with all the details you provided in the previous steps.
To turn this on, you can either click on “Turn on Zap” or on the black button at the bottom of the screen, which will change from “OFF” to “ON.”

.png)
