
update - collect payments in your forms with the new payment type field

Published On:
September 17, 2026
A step-by-step guide to accepting payments on your forms
CliqForms lets you collect payments directly on a form using your own Stripe account.
Payments go straight to you—CliqForms never touches or holds your funds, and there's no platform fee taken out along the way.
This guide walks you through connecting Stripe once, then adding a Payment question to any form. You can charge a single fixed price, or sell a catalogue of products with different prices and quantities.
What you’ll need:
• A CliqForms account with a form you'd like to add payments to
• A Stripe account — if you don't have one yet, you'll be able to create one during setup (you'll need basic business and bank details on hand)
In this guide:
1. Open Payment Settings.
2. Connect your Stripe account.
3. Add a Payment question.
4. Choose the fixed-amount skin.
5. Or choose to sell products skin.
6. Match the payment to your brand.
7. What your customers will see.
STEP 1
In CliqForms, open Payment Settings from the left-hand menu, under Integrations. This is where you connect and manage the Stripe account that will receive your payments. You'll see a Stripe card with a status badge and a button to connect or complete your setup.

STEP 2
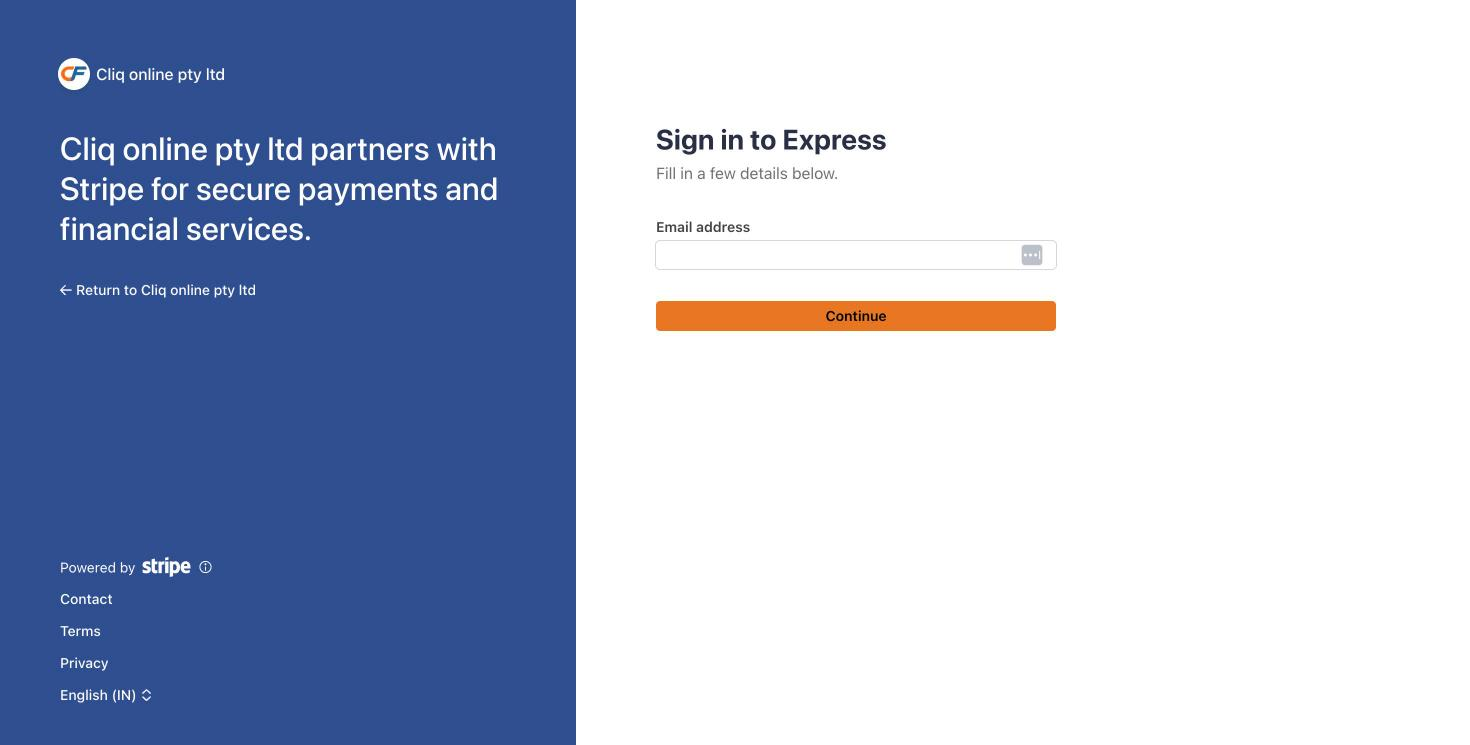
Click Connect Stripe. This opens Stripe's own secure onboarding in a new browser tab.
If you already have a Stripe account, sign in. If not, Stripe will walk you through creating a free Express account—you'll need your business details and a bank account to receive payouts.
Once you're finished on Stripe, come back to the CliqForms tab—your connection status updates automatically, so there's nothing else to click.
STEP 3
Open any form in the builder and add a new question. In the Question Type dropdown, choose Payment — it works just like any other question type.
Then use the Skin dropdown beside it to choose how the payment behaves: a single Fixed amount, or sell products for a catalog.
.png)
STEP 4
With the Skin set to a fixed amount, choose your payment provider, currency, and the text for the pay button.
Then set the payment name, an optional description, and the amount you want to charge.
This is the simplest option — ideal for a single service or a flat consultation fee.
STEP 5
Selling more than one item? Switch the skin to sell products and build a full catalog.
Each product gets its own card—set a name, price, description, and image, and choose whether the quantity is fixed or the customer picks how many.
When you let the customer choose, you can also set a minimum and maximum.
A fixed-quantity product only needs a default, because it always bills exactly that number.
Customers can select from your catalog and pay for everything in one checkout.
.png)
STEP 6
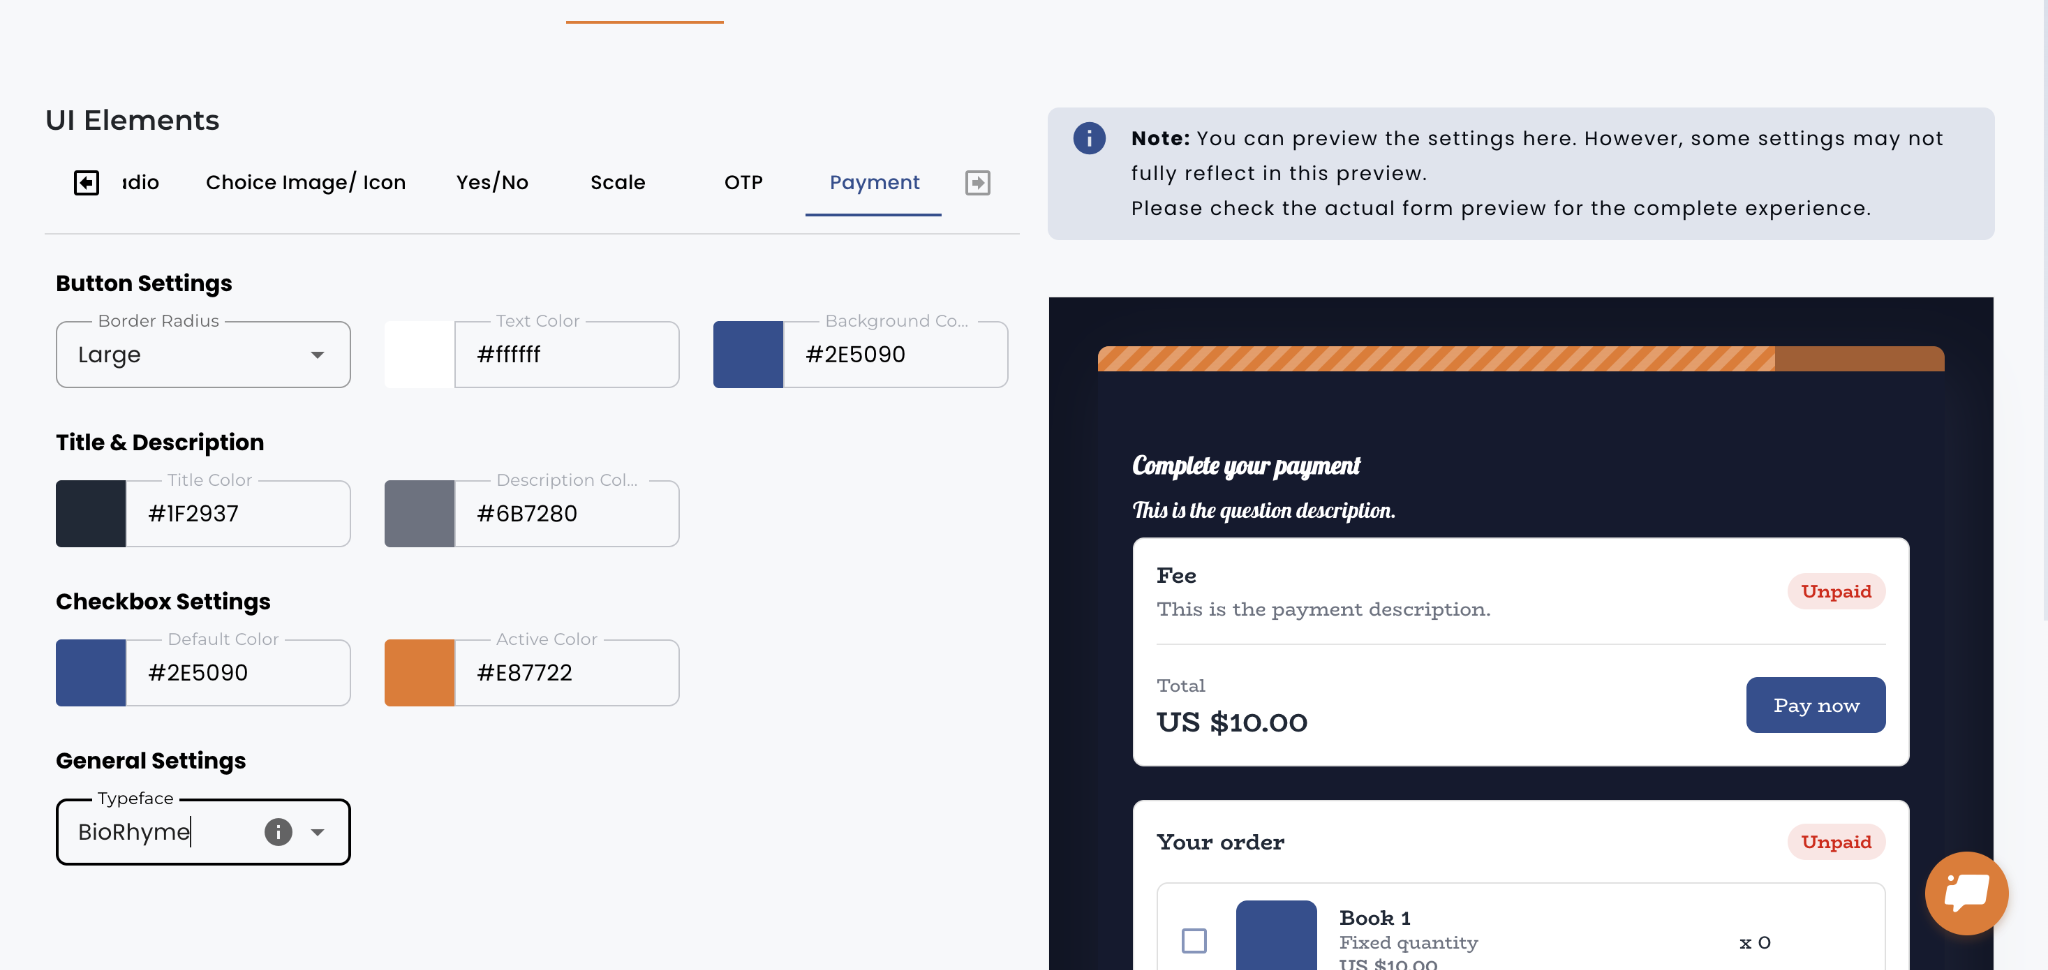
Under Design > UI Elements > Payment, you can style the payment card to match the rest of your form.
Set the typeface, the title and description colours, the Pay Now button's colour and corner style, and the product checkbox colors.
Leave the typeface blank, and the card simply follows your form's primary font.
STEP 7
When a customer fills out your form, they answer your questions as usual, then reach the Payment question — where they see a clear order summary, pay securely through Stripe, and get instant confirmation before submitting.
Example: fixed-amount checkout
1. Customer answers your form questions as usual.

2. Including their contact details.

3. They see a clear order summary before paying.

4. Payment is handled by Stripe's secure checkout.

5. A final review confirms the payment succeeded.
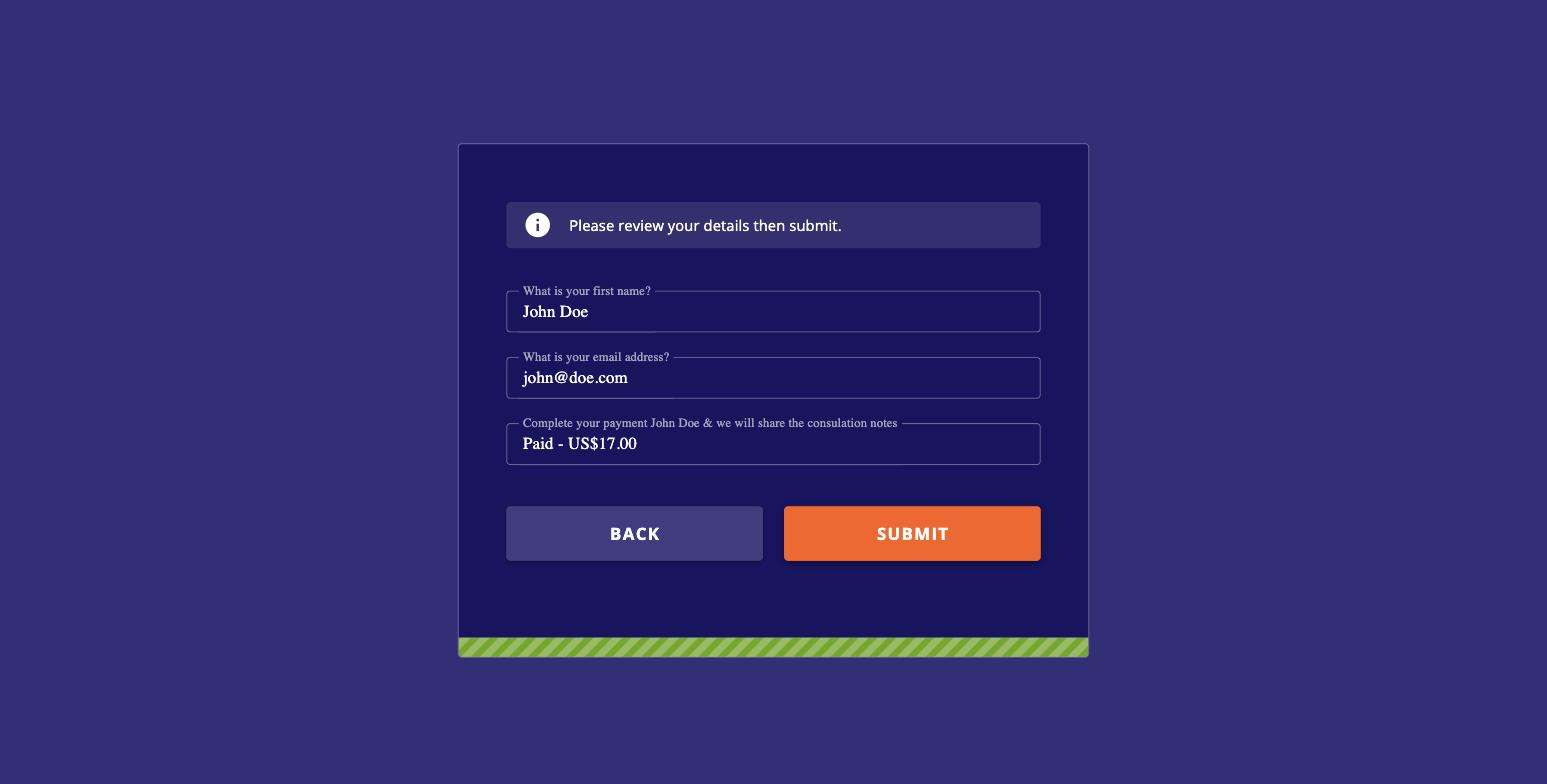
6. They get instant confirmation before submitting.

STEP 8
Example: selling multiple products
1. Customer answers your form questions as usual.

2. Including their contact details.
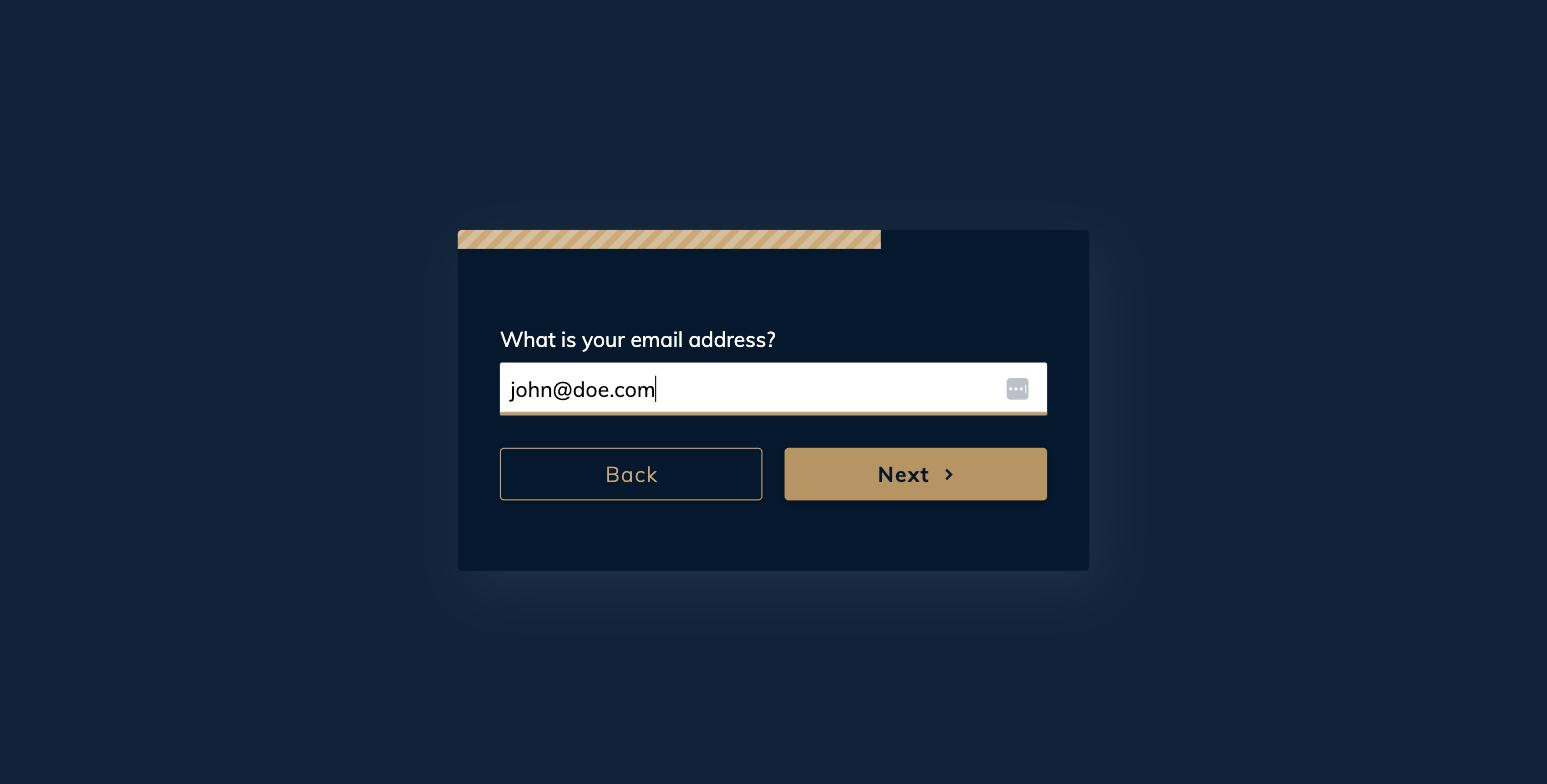
3. They pick from your catalog, and the total updates live.

4. Payment is handled by Stripe's secure checkout.

5. A final review confirms the payment succeeded.
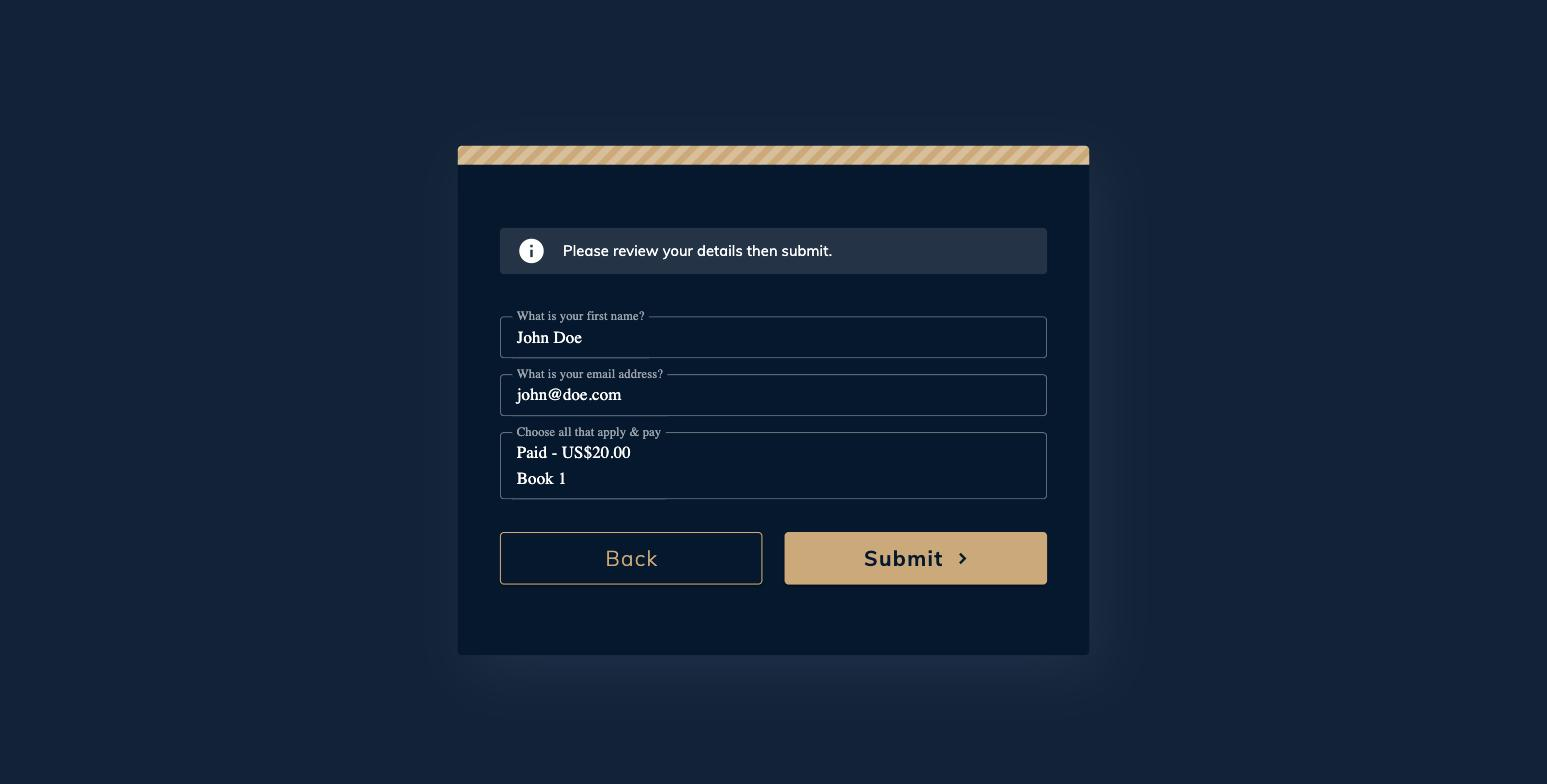
6. They get instant confirmation before submitting.

• Your money goes straight to you. Payments are processed directly on your own connected Stripe account — CliqForms never holds your funds or takes a cut.
• No extra login for customers. Customers pay through Stripe's checkout—they don't need a Stripe or CliqForms account of their own.
• Currencies and taxes follow whatever your Stripe account supports—set the currency per Payment question, in the row under the payment provider.
Still have questions? Reach out to the CliqForms support team,, and we'll be happy to help.


.png)
