Innovating Data Collection - Serving Businesses Worldwide

Published On:
April 28, 2026
Using autocomplete, your users can fill in their address details without the hassle of typing it all manually. Simply set up your app in Google Cloud and add the API Key to your app settings, and you are good to go.
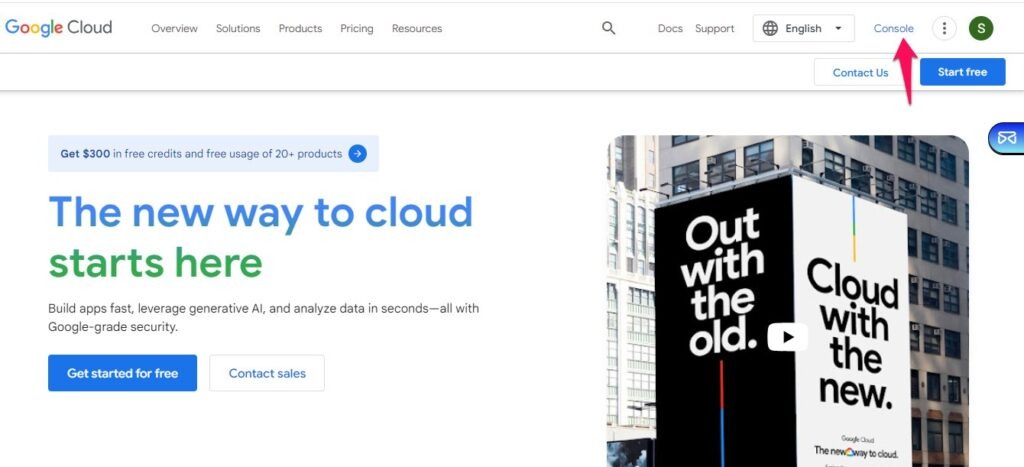
Navigate to Google Cloud and click on Console
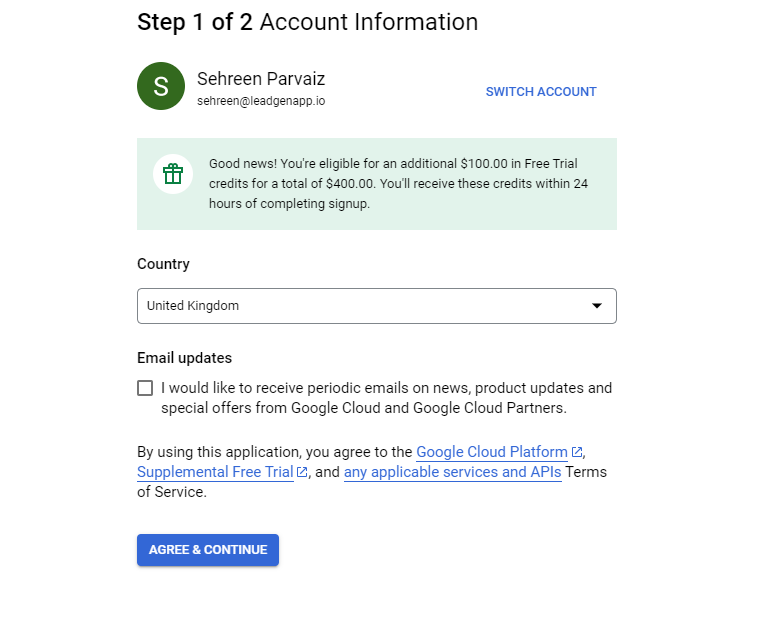
Select your country and agree to the Terms of Service.
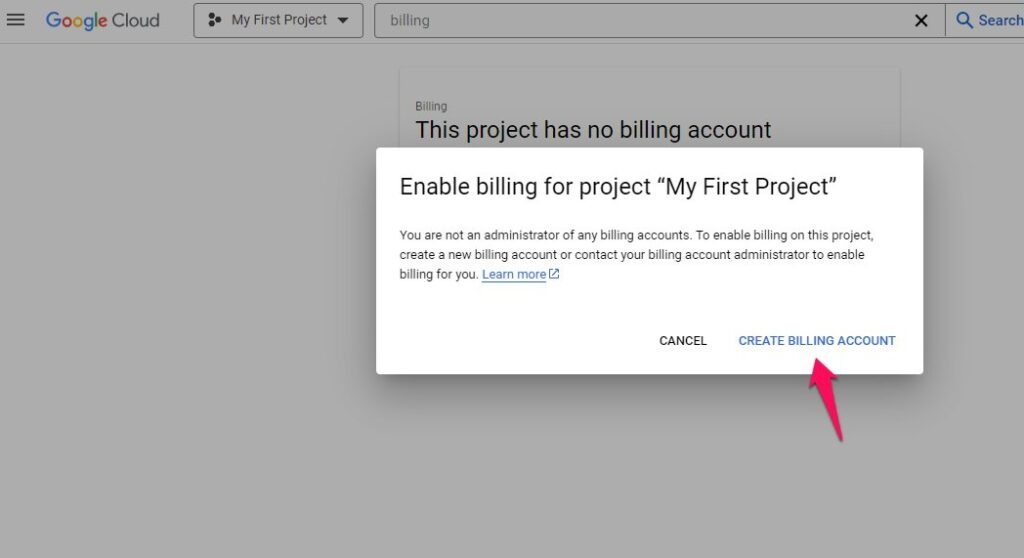
Billing:
To set up your billing profile, navigate to the “Billing” section and click “Add Billing Account.”
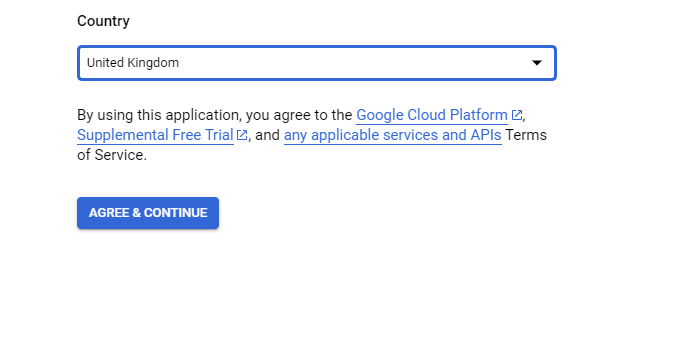
Select your “Country” and agree to the “Terms of Service”.
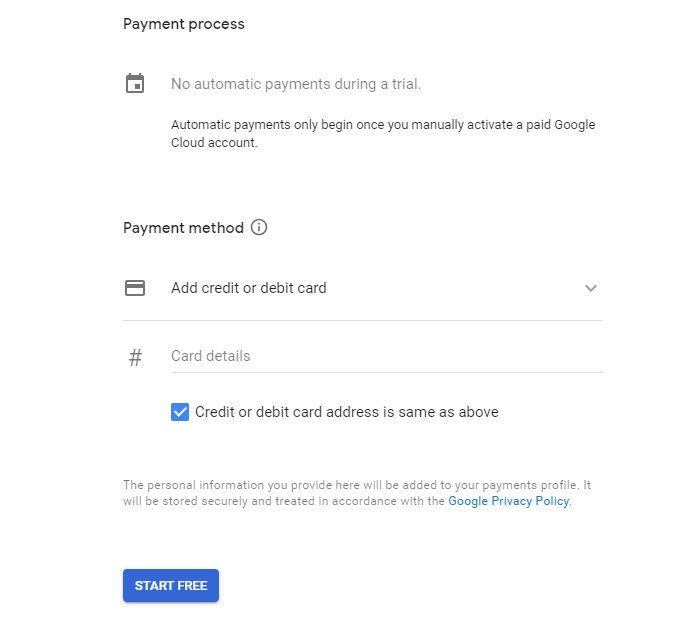
Add your Profile and Payment details.
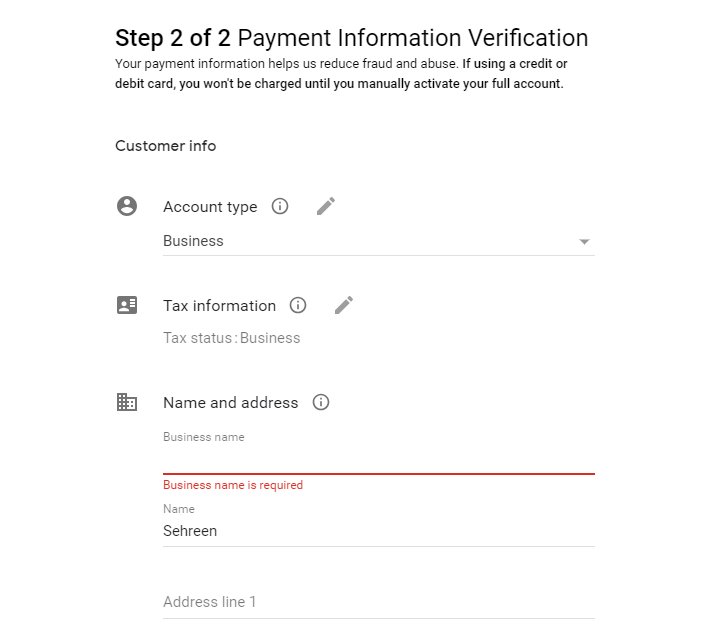
After filling in all the details, click on “Start My Free Trial”.
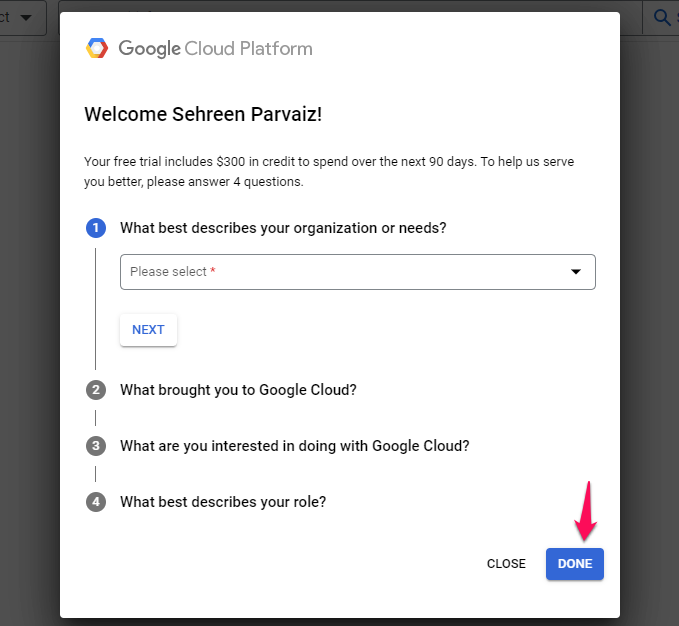
Answer the following questions and click on “Done”.
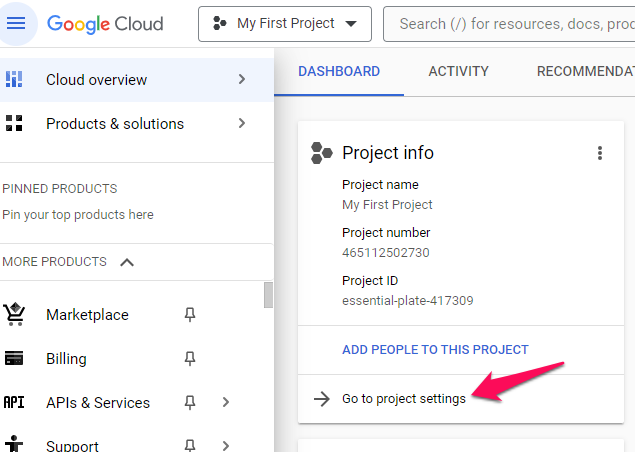
Project:
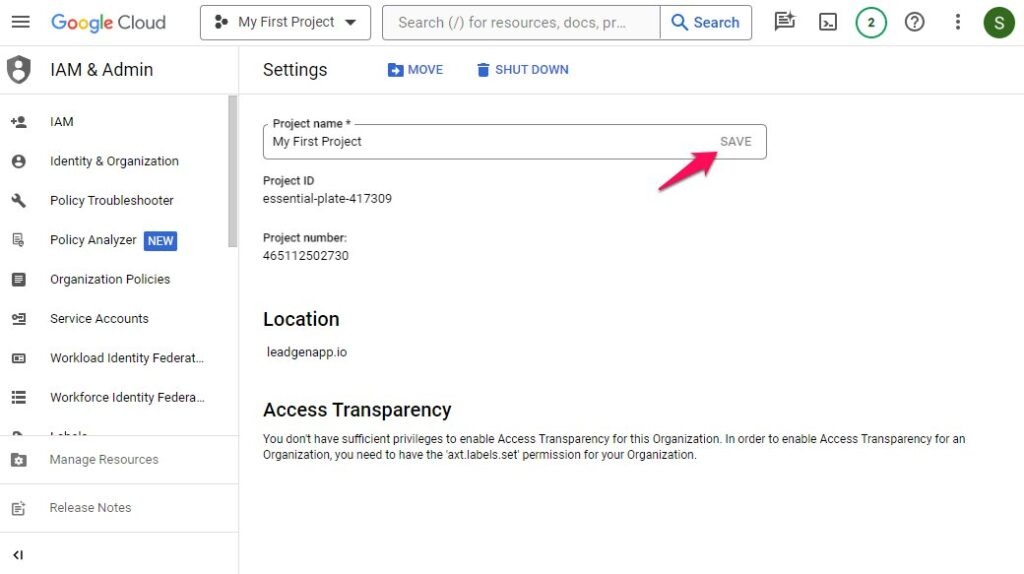
To set up your project in Google Cloud, navigate to the “Dashboard” section and click on “Go to project settings.”
Set the project name and click on “Save.” You have successfully created your project, & this project is now linked to your billing profile.
APIs & Services:
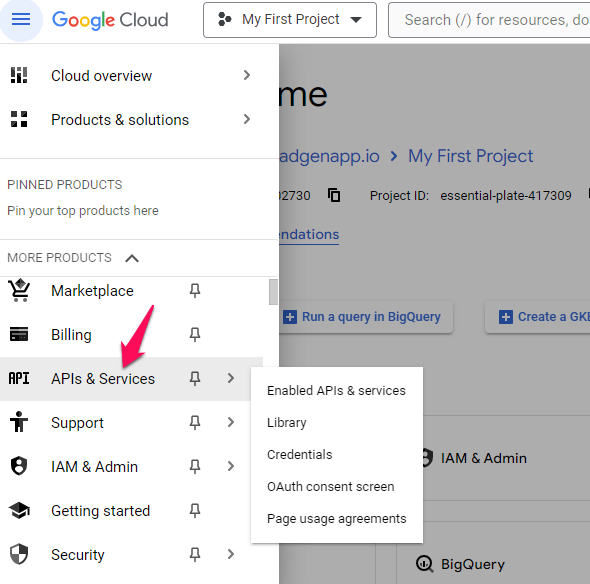
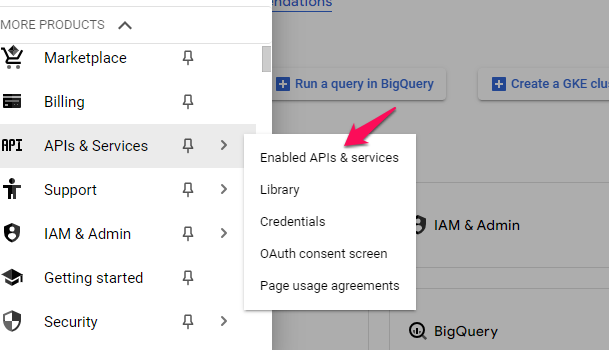
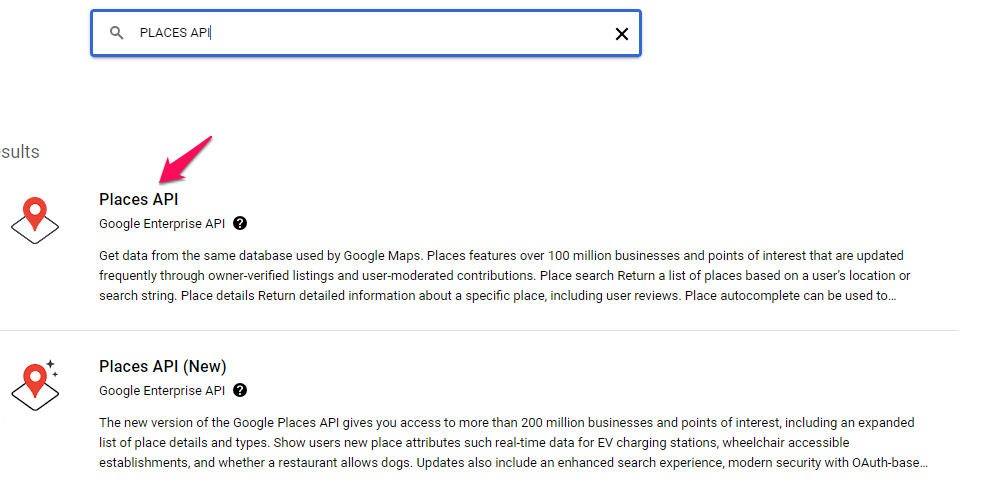
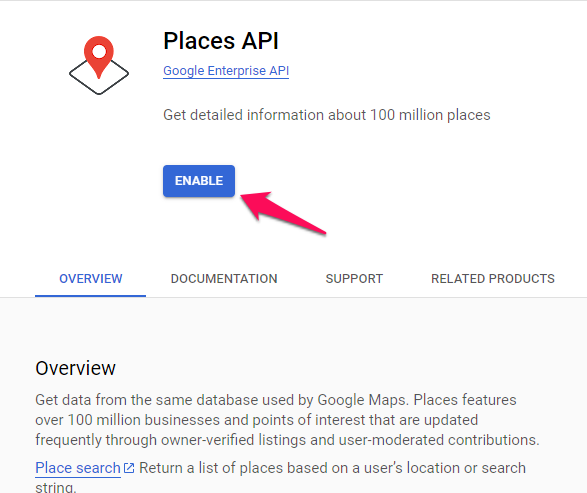
Navigate to the “APIs & Services> Dashboard” section. Select “Enable APIs & Services”.
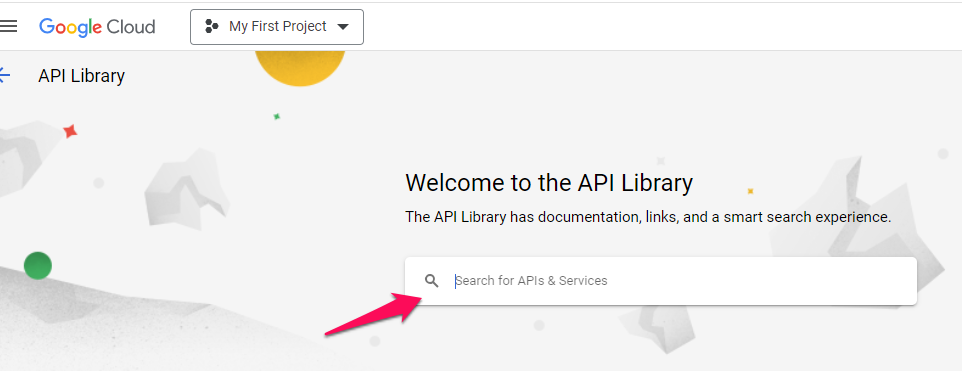
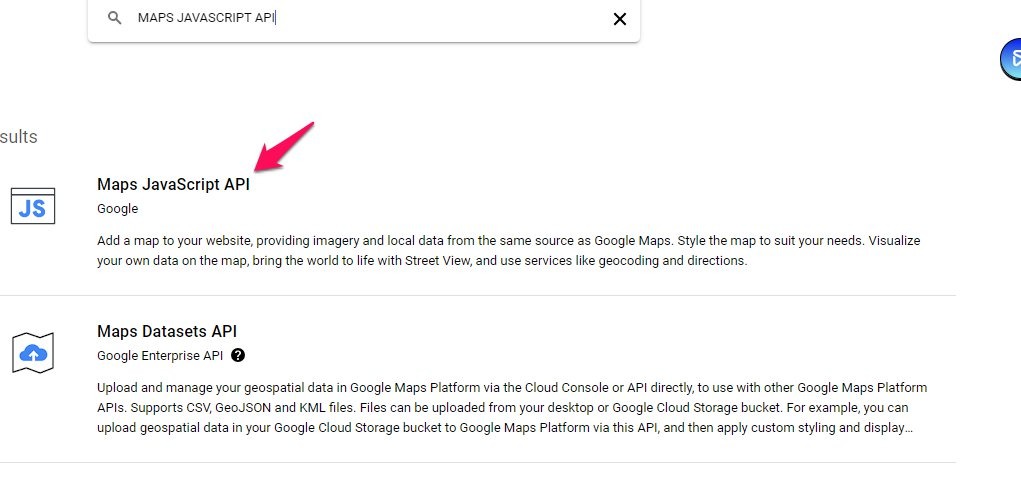
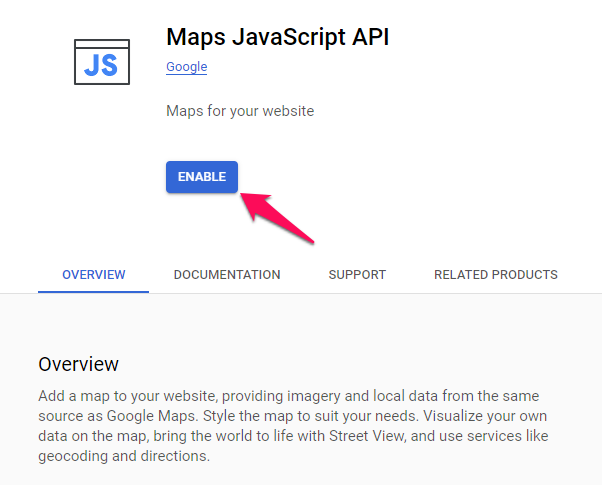
Search and enable “Places API” and do the same with “Maps Javascript API”.
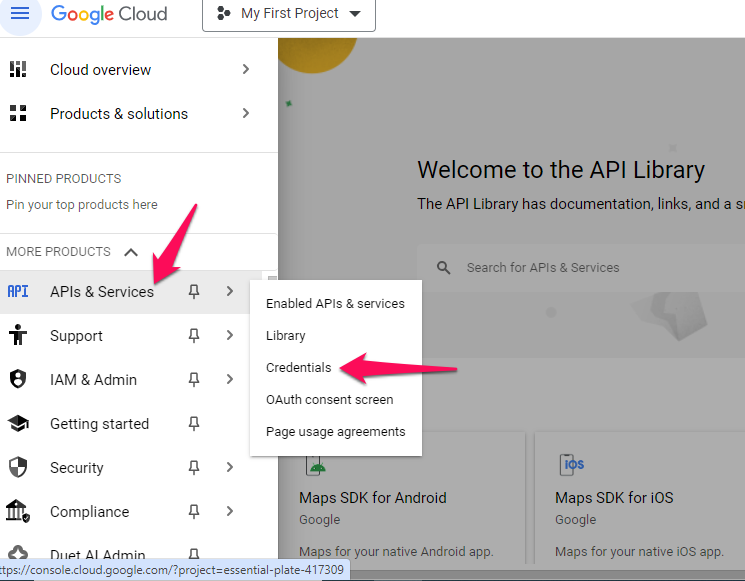
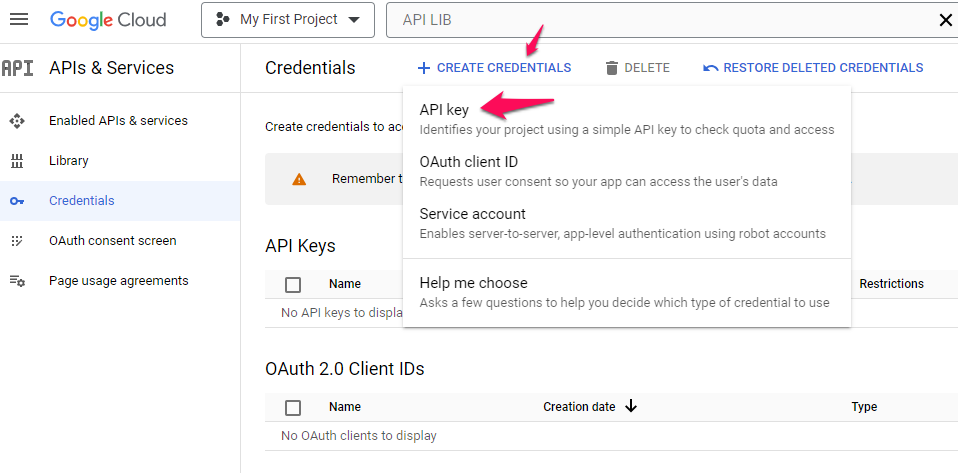
Navigate to the “APIs & Services> Credentials” section. Click on “Create Credentials” and select “API key”.
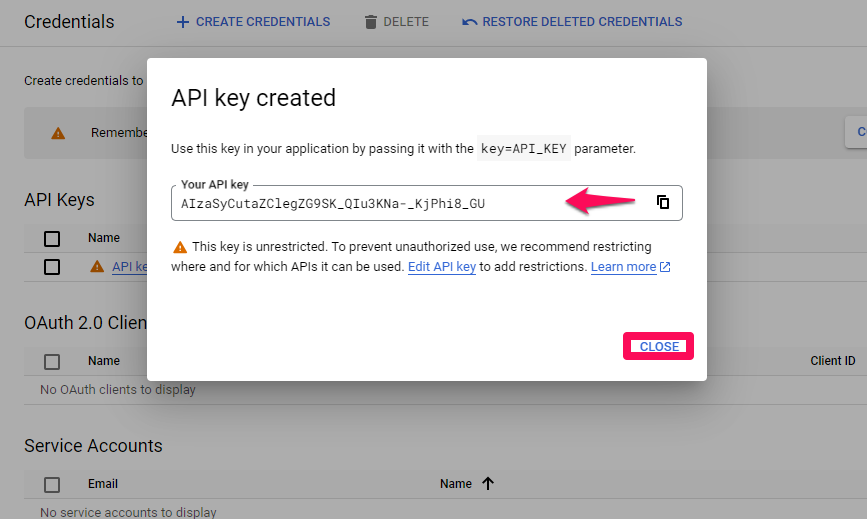
Note: Please save the API Key for Cliqforms settings.
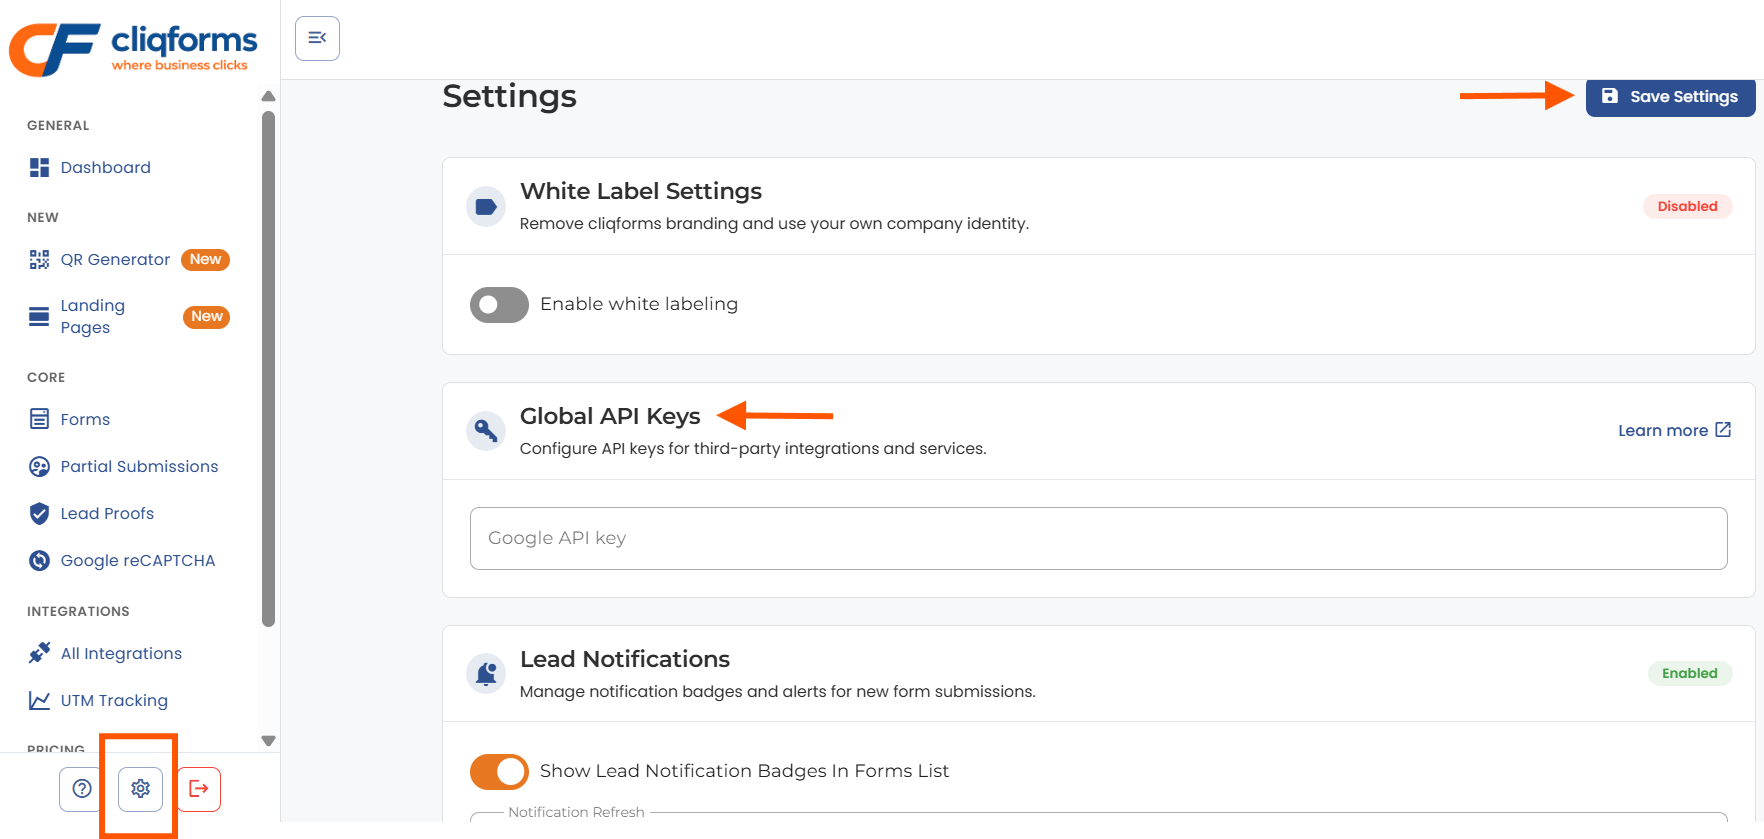
Go to Settings in the dashboard to add a Google API key:
Form Build:
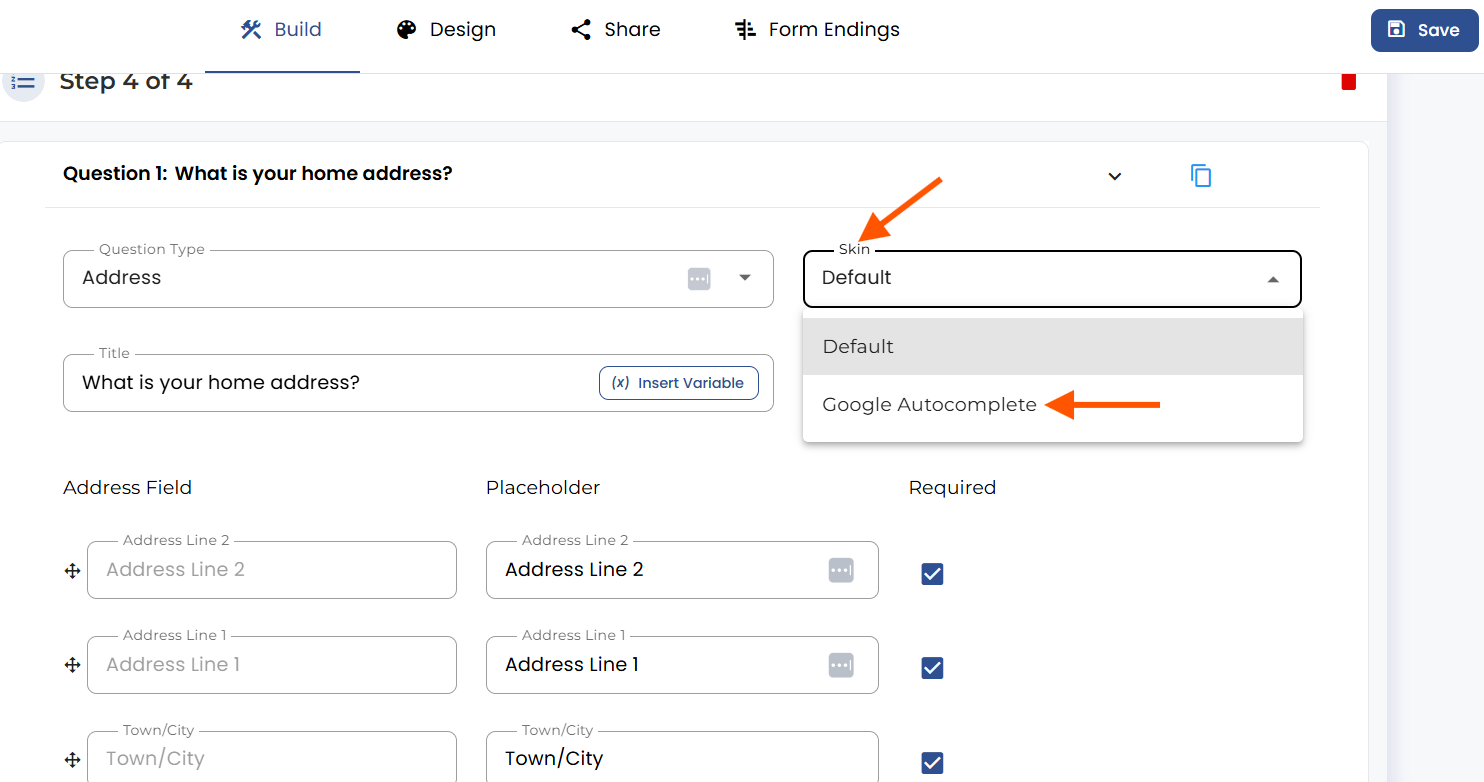
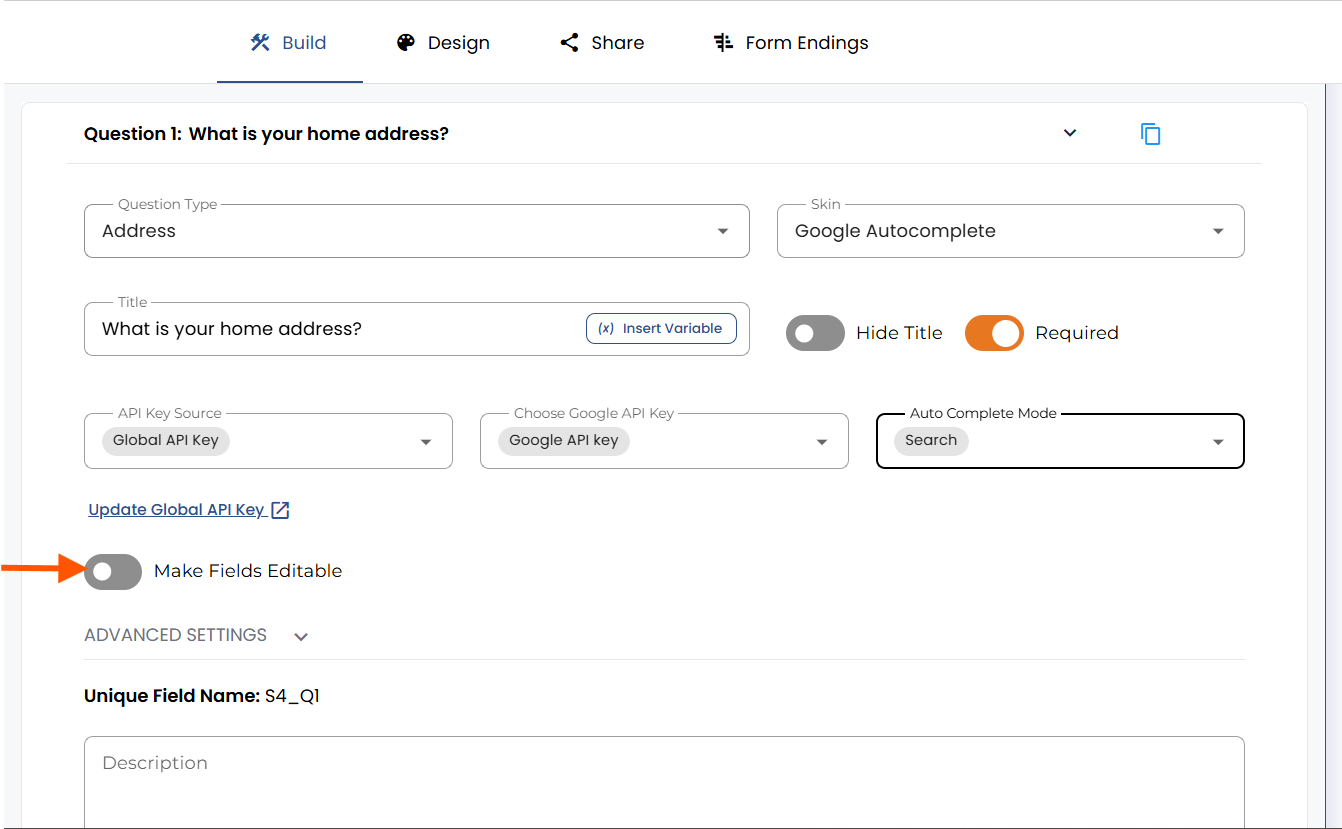
To enable the Google Autocomplete feature, select “Address type question” and choose the skin type “Google Autocomplete."
Next select “Global API Key” in API Key Source. Now select “Google API Key” in Choose Google API Key.
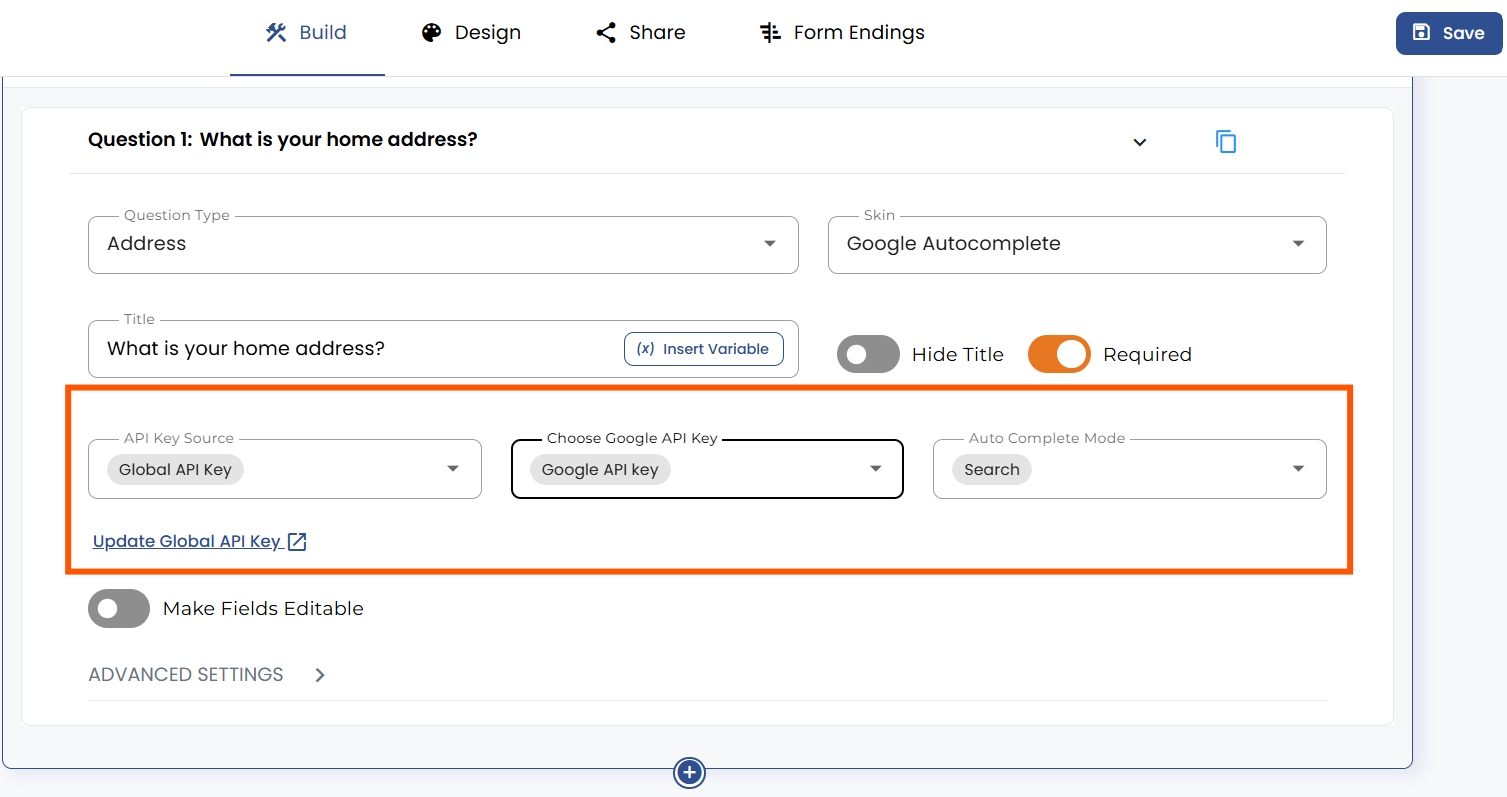
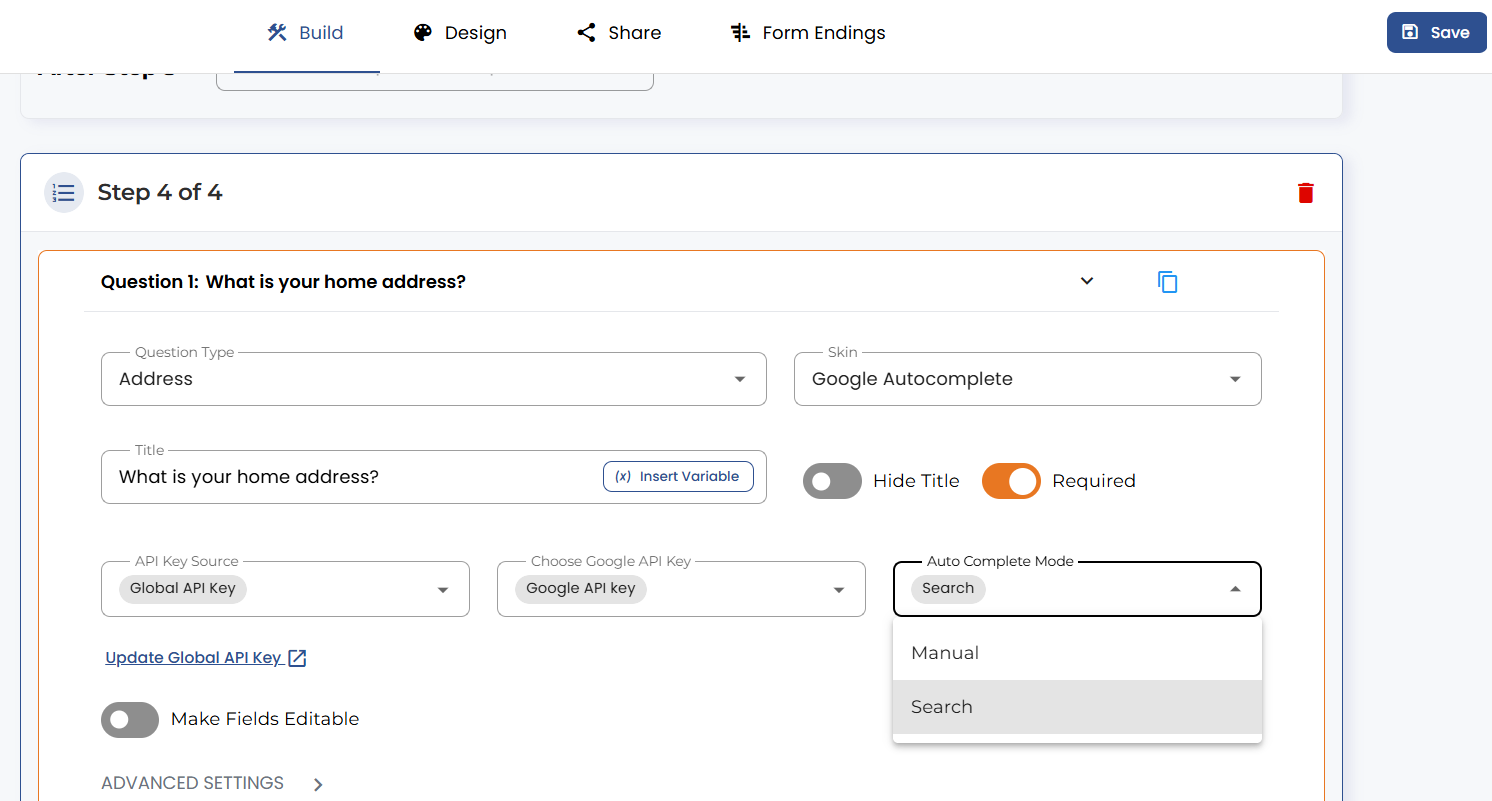
Under the “Auto Complete Mode” dropdown, you have multiple options, including “Manual” or “Search.”
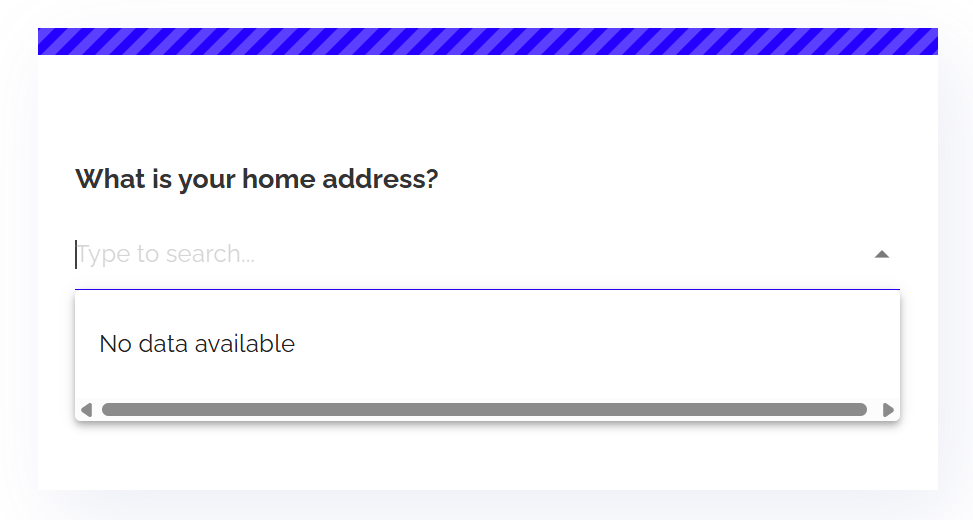
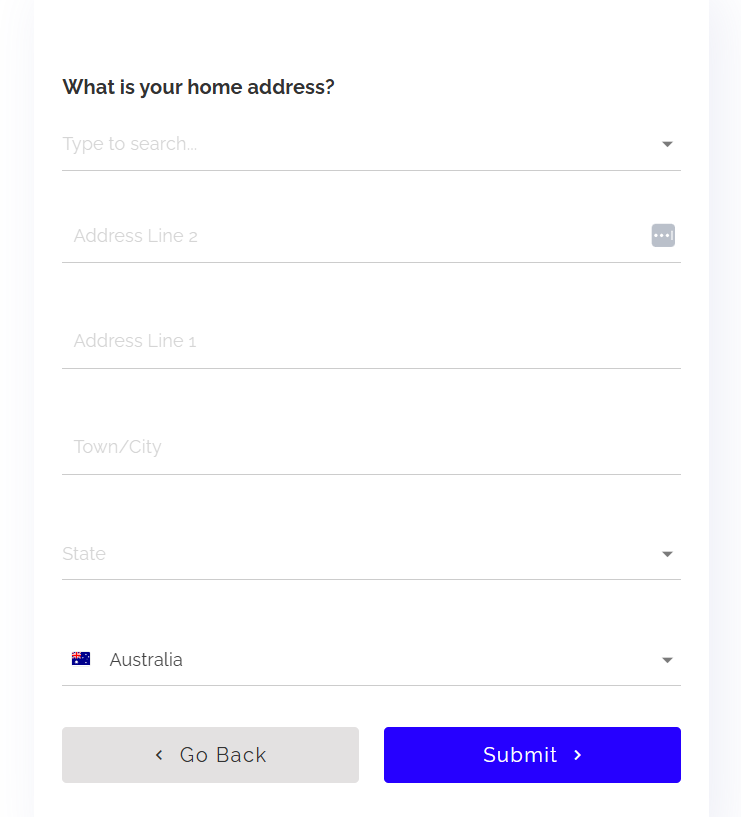
Here is how the address type question with “Auto Complete Mode – Search” looks on the form.
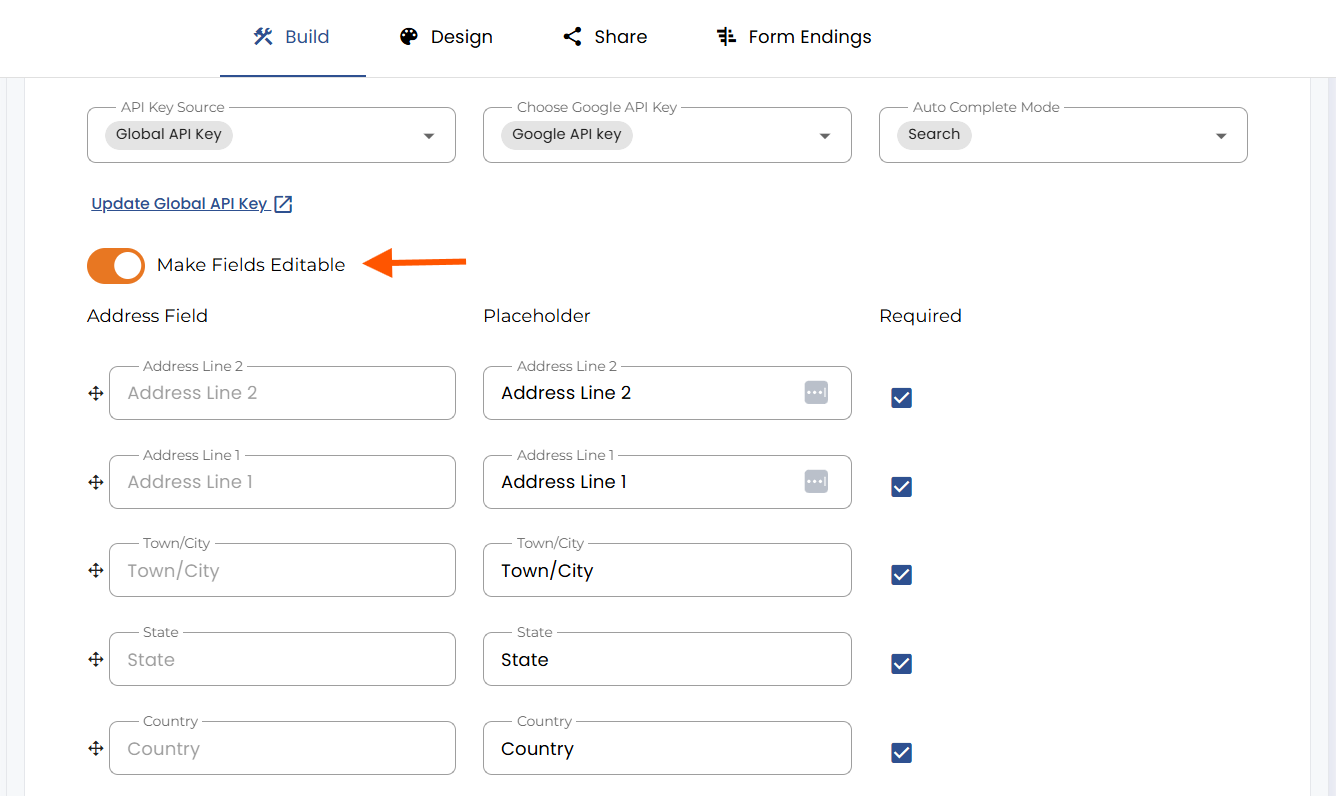
If you go back to the question settings and turn on the “Make Fields Editable” option, you can Enable/Disable Address Fields. Using this, you can make changes to the address fields.
Here is how the address type question with “Auto Complete Mode – Search” with enabled “Make Fields Editable” option looks on the form:
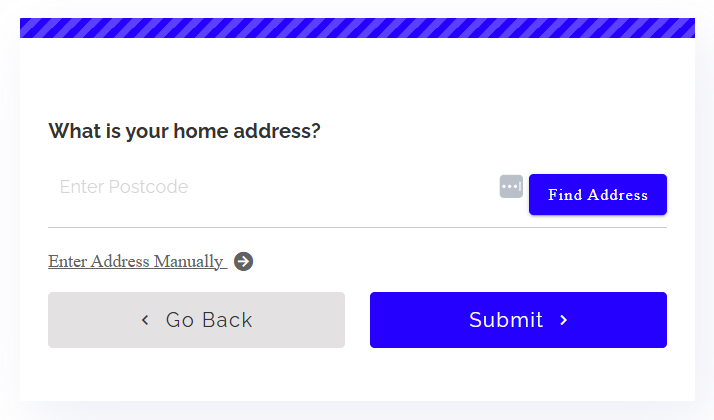
Here is how the address type question with “Auto Complete Mode – Manual” looks on the form:

.png)
